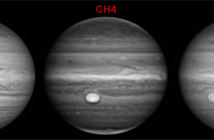
Sampling is a basic notion of CCD imaging. What it is exactly ?
You won’t avoid a technical definition ;). The sampling is the angular portion of the sky that sees one pixel of your camera.
To say it more clearly, a planet is visible from Earth with an apparent diameter calculated in a fraction of angle: the tour of the sky makes 360°, one degree is 60 minutes of arc, and each arc minute counts 60 arc seconds. The planet Jupiter for example reaches at maximum an apparent diameter of 49″ (arc seconds). This is almost the angular size of the smallest point the naked human eye is supposed to be able to see.
This notion is important because it will allow us to evaluate what is the correct focal length of our telescope to make good images (said like this, it is already more motivating !)
How do I calculate the sampling ?
Calculating the “correct” sampling can be complicated. You will find the whole description elsewhere on the web.
But to keep things simple, you can work directly on a real image you have already obtained. In this situation you only need 2 informations: the apparent size of the planet in arc seconds, and the size of the planet in pixels on the image.
Example: I got an image of Jupiter on October 30th, 2012 (at the time it sized 46,5″) with my PLA-Mx camera (whose CCD is 640 pixels large). My image in pixels (measured in any software you like) is 340 pixels large.
The sampling is then: 46,5/340 = 0,13 arc seconds per pixel.
OK but what should I do with this ?
This value allows you to know right away if your focal length is adequate following an empirical rule: to reach the resolving power of an instrument, we are often told to have the Airy disk occupy at least 2 pixels on the CCD chip. Otherwise the smallest detail you could see in theory would occupy only one pixel and may not appear.
This rule means that the value of the sampling must be at least equal to half the resolving power of your instrument.
In practice: the resolving power of my 250 mm telescope is 120/250 = 0,48″. I must get a sampling of 0,48/2 = 0,24 arc second for one pixel.
We can read this value this way:
- at more than 0,24″/pixel (0,3 for example), the image is under sampled: the focal is too short and the smallest details available may not appear.
- at less than 0,24″/pixel (ex: 0,15), the image is over sampled: the focal length is a bit too long and the settings of the camera might get less performing than they could (lower frame rate, etc.).
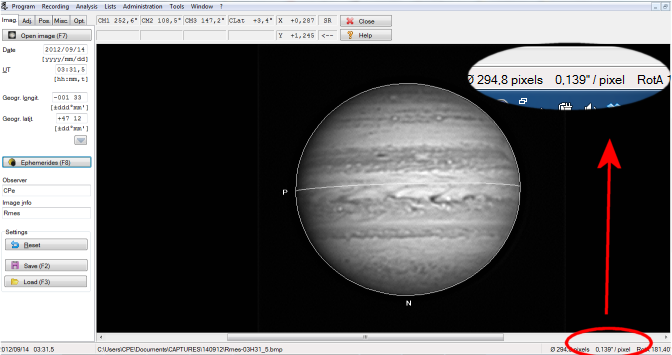
One practical advice here: if you use the WinJupos software, the “image measurement” module will give you the sampling of the image without any calculation :)
The sampling in real life
Often in astronomy, theory is interesting but we must know how it behaves in the reality ;). There are several other parameters that may play a role:
- Oversampling is far from being a bad thing. It is often used by observers to improve the resolution of the images. Of course the settings of the camera are less performing than they could, but less performing does not mean “not performing”.
- The optical quality of the instrument: above all if it is a small telescope (100 to 200 mm, up to 250 at maximum), it allows you to use a longer focal length without losing quality
- How bright is the target: a bright planet with contrasted details will easily bear oversampling (Mars is a good example).
- And let’s not forget that the resolving power of the instrument varies with the wavelength, so when you switch filters, the “good” sampling is not the same !
This means one thing: evaluating the sampling before imaging is a matter of experience. In astronomy, it is nice to know a bit of theory, but we must not become its slaves ;).

